If your morning coffee doesn’t taste quite right lately, your Keurig might be trying to tell you something: it’s time for a clean. Whether you’ve had your machine for a few months or a few years, regular cleaning is essential to keep it running smoothly—and your coffee tasting its best.
So, if you’re wondering, “How do you clean a Keurig?” here’s everything you need to know to bring your brewer back to life.
Why Cleaning Your Keurig Matters
Over time, mineral deposits, old coffee grounds, and mold can build up inside your Keurig. This doesn’t just affect the taste of your coffee—it can slow down performance and reduce the lifespan of the machine.
And let’s be honest: no one wants a morning brew that’s been filtered through mold or limescale.
How Often Should You Clean It?
Ideally, you should:
- Wipe down the outside every week
- Deep clean the removable parts every 2–3 weeks
- Descale the internal system every 3 months (or more often if you use hard water)
Step-by-Step: How to Clean a Keurig
1. Unplug the Machine
Always start safe. Make sure your Keurig is off and unplugged before you begin cleaning.
2. Disassemble and Clean Removable Parts
Remove the water reservoir, lid, drip tray, and K-cup holder. Wash these with warm, soapy water and rinse thoroughly. Let them air dry or wipe dry with a clean cloth.
Tip: The K-cup holder can collect old coffee oils and grounds—don’t skip it!
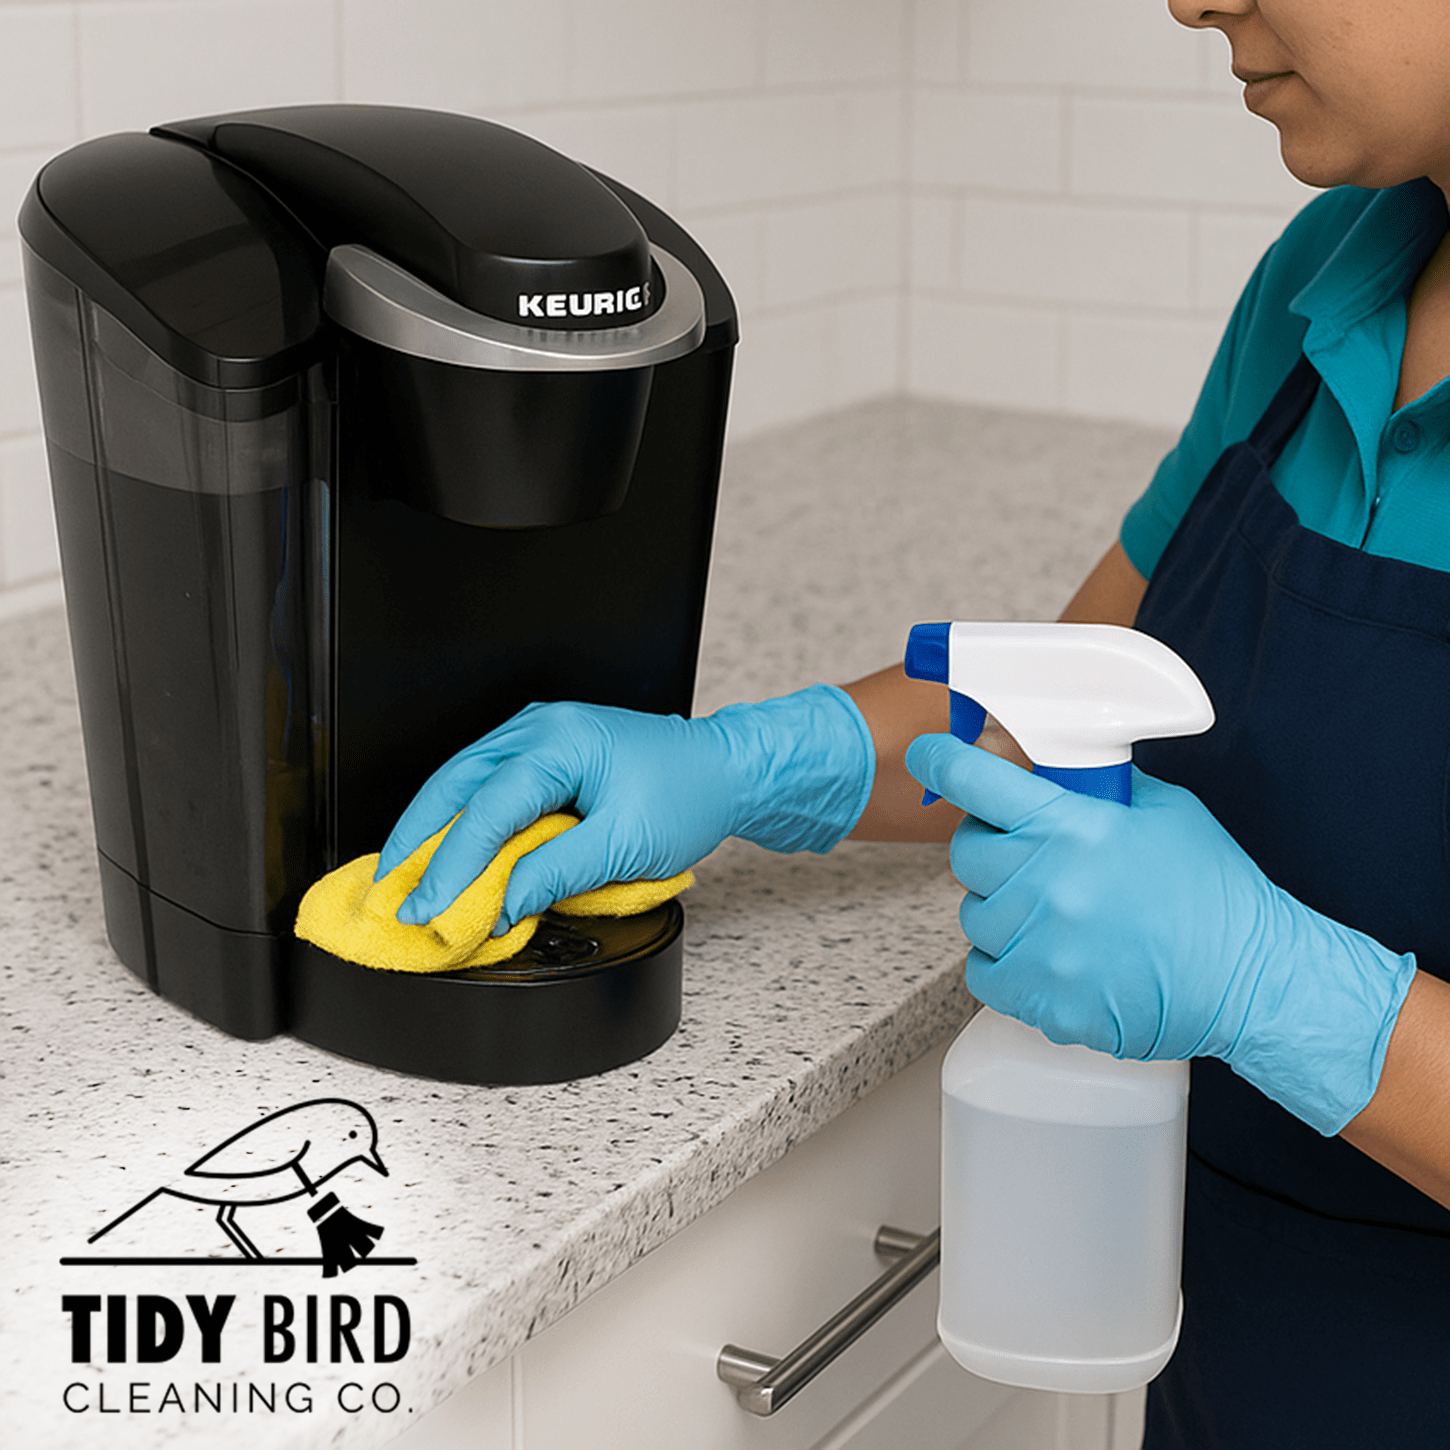
3. Wipe the Exterior
Use a damp cloth to clean the machine’s exterior and the area where the pod goes. Avoid abrasive sponges or chemical cleaners.
4. Descale the Inside (The Crucial Step!)
Mineral buildup (especially from hard water) can block the machine’s internal tubing. Here’s how to descale your Keurig:
You’ll Need:
- White vinegar or a descaling solution
- Fresh water
Descaling Steps:
- Fill the reservoir with equal parts white vinegar and water.
- Run the brew cycle (without a pod) until the reservoir is empty.
- Let the machine sit for 30 minutes.
- Rinse by filling the reservoir with fresh water and running multiple cycles until it’s vinegar-free.
This removes limescale, bacteria, and buildup that you can’t see—but definitely taste.
Bonus: Clean the Needle
The small needle that punctures the K-cup can get clogged with grounds. Use a paperclip or the Keurig cleaning tool (usually included) to gently remove buildup. This step can drastically improve water flow and flavor.
Final Thoughts
So, how do you clean a Keurig? The answer is: regularly, and thoroughly. With just a little time every month, you can keep your machine in top shape—and your coffee tasting as rich as it should.
At Tidy Bird Cleaning Co., we know a clean home includes your appliances. Your Keurig deserves as much care as your countertops—and with this guide, it’s easier than ever.
🌐 Book your next cleaning today: tidybirdcleaning.com
burlingtonhousecleaner.ca
burlingtonhousecleaner.services
burlingtonhousecleaning.net
#HowToCleanAKeurig #KeurigMaintenance #CoffeeLovers #HomeCleaningHacks #ApplianceCleaningTips #CleanKitchenVibes #howoftendoyoucleankeurig #TidyBirdCleaning #FreshBrewEveryTime #CleanCoffeeRoutine #tidybird #tidybirdclean #tidyclean #tidycleaning #tidyone #tidyandclean
- Best House Cleaners Burlington ON
- Burlington Oakville ON – Declutter & Organize Service
- Burlington Oakville ON – House Cleaning Promos
- Burlington ON Families
- Burlington ON Oakville ON – Landlords
- General House Cleaning Burlington ON, Oakville ON
- House Cleaning Hacks – Burlington, Ontario
- Realtor House Cleaning Services Burlington ON
- Seniors House Cleaning Services Burlington ON, Oakville ON
Categories
ENTER YOUR EMAIL ADDRESS
Have promo codes sent to your inbox!